

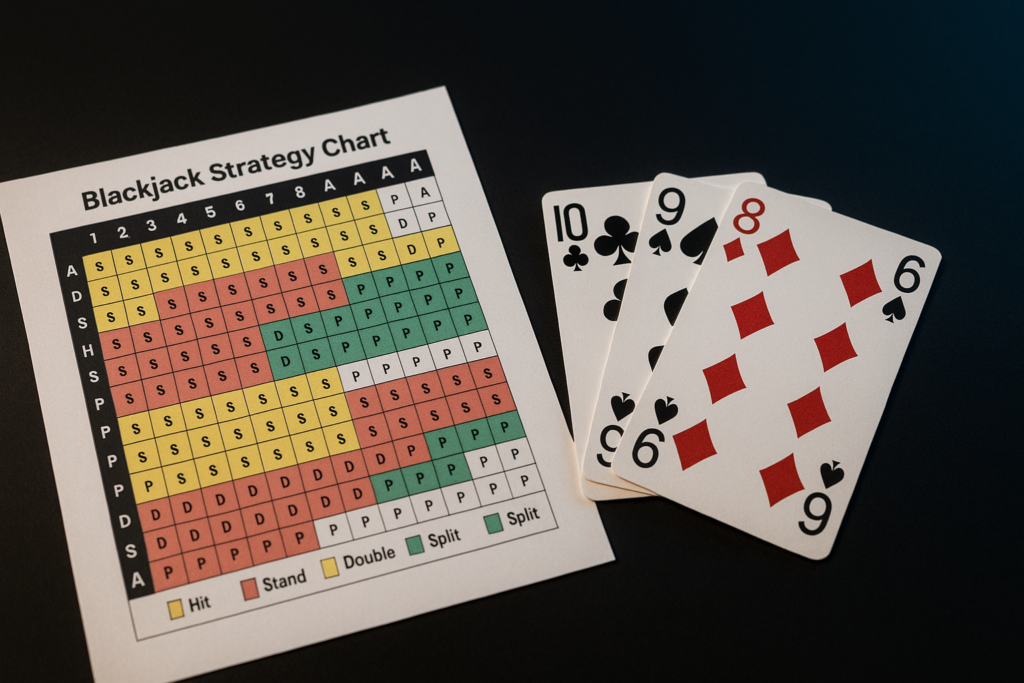
Blackjack Basic Strategy Chart: Pick the Right 4/6/8‑Deck S17 vs H17 Chart and Avoid Costly Mistakes (0.62% vs 15.7% swing)
Estimated reading time: 6 min read
Key takeaways
- Always match your basic strategy chart to the table rules — deck count and whether the dealer hits or stands on soft 17 matter.
- Memorize a few game‑changing plays (split Aces/eights, don’t split tens/fives, hit ≤11, stand ≥17) and use a chart for the rest.
- Using the wrong chart can swing the effective house edge massively (example: ~0.62% vs 15.7%).
Why your blackjack basic strategy chart must match the table rules
There’s no single universal chart. The correct play depends on concrete rule variables.
These variables include number of decks, whether the dealer hits or stands on soft 17 (H17 vs S17), doubling after split permissions, surrender rules, and whether the dealer checks for blackjack before more bets are placed.
The Wizard of Odds has separate charts for different deck counts — for example a 4-deck strategy page and an 8-deck strategy page — because those small rule shifts change the expected value of some plays.
Put simply: a chart built for S17 won’t always tell you the mathematically best move at an H17 table, and a chart for a single-deck game won’t be optimal in a six-deck shoe.
Quick primer: how to read a blackjack basic strategy chart
Charts look intimidating at first, but they’re just a decision tree in grid form.
- Identify the hand type: use the hard total section if your hand has no ace counted as 11, the soft section if it does, and the pairs section when your first two cards are a pair.
- Find the dealer’s up card: the dealer’s visible card sits across the top of the chart.
- Follow the action code: H = hit, S = stand, D = double, P = split, sometimes R = surrender.
- Always confirm table rules: doubling and surrender permissions change some of the letters on the chart.
The 4-deck page has a nice step-by-step description if you want to see how the grid is organized in practice.
Three example hands — how the recommended play shifts by deck and S17/H17
Below are three common situations: hard 16 vs dealer 10, soft 18 (A‑7) vs various up cards, and a pair of eights.
For each I explain usual multi‑deck/chart advice and why small rule changes matter.
1) Hard 16 vs dealer 10
Hard 16 is the hand that makes grown players drink. It’s where a chart really earns its keep.
- On multi-deck charts that allow surrender (typical 4/6/8‑deck S17 charts), the correct play is often to surrender hard 16 against a dealer 10.
- If surrender isn’t allowed, many multi‑deck strategies instead advise hit rather than stand in that spot.
- If you used a lazy rule like “always stand on 16” — the example that inflates the house edge to 15.7% — you’re throwing away a lot of equity.
Bottom line: check if surrender is on the table. If yes, surrender. If no, follow the multi‑deck chart’s hit/stand guidance.
2) Soft 18 (A‑7) vs the dealer’s up card
Soft hands are flexible — that ace can be 11 or 1 — so small rule differences can flip a double into a hit or a stand.
- Basic strategy treats a soft 18 differently: often stand vs 2, 7, 8; double vs 3–6 when allowed; and hit vs 9, 10, Ace.
- If the table is H17 rather than S17, some borderline double/stand decisions shift because the dealer’s extra flexibility on soft 17 worsens your expected value slightly.
- So check whether the house stands or hits on soft 17 and whether doubling is permitted before deciding.
For exact soft‑18 entries across rule sets, the multi‑deck charts on Wizard of Odds make the variations clear.
3) Pair of eights
Pair splitting looks obvious until you don’t split and lose a hand you shouldn’t have.
- Across multi‑deck basic strategy, you always split eights. Two eights (16) is a poor starting hand; splitting gives two chances to improve.
- You should never split fives or tens; treat them like a hard 10 or 20.
- S17 vs H17 doesn’t flip the “split eights” rule — but doubling-after-split permissions affect later choices on the new hands.
How big is the penalty for using the wrong chart?
Concrete numbers make this feel real. Wizard of Odds uses real rule sets to show the difference.
- For a commonly analyzed European rule set (six decks, dealer stands on soft 17, doubling allowed on 9–11, doubling after splitting allowed, no dealer peek), the house edge with correct basic strategy is about 0.62%.
- By contrast, the site gives an example where a player who always stands faces a 15.7% house edge under typical six‑deck Las Vegas rules.
That gap isn’t hypothetical. It’s the difference between one more visit that’s reasonably fair and a strategy that loses you a meaningful chunk of your stake every time.
Source links: the European figure comes from Wizard of Odds’ European blackjack page, and the “always stand” example appears in their basic strategy discussion on how bad plays inflate the house edge.
Which chart do you actually need? A quick decision flow
If you’re about to sit at a live table or load an RNG blackjack game, use this checklist before you pick a chart or memorize a play.
- Count the decks: single, 4, 6, or 8? If it’s multi‑deck, pull up a multi‑deck blackjack chart.
- Does the dealer hit or stand on soft 17? If it’s H17, use the H17 chart variant; if S17, use the S17 chart.
- Is surrender offered? If yes, make sure the chart includes surrender plays.
- Are doubles allowed after splitting? That affects some split/double combos.
- Does the table check for blackjack (peek)? That small rule can influence insurance and some surrender choices.
These are the same rule knobs the European, 4-deck, and 8-deck pages toggle when they produce charts.
Practical tip: memorize the handful of game‑changing plays
You don’t need to memorize every cell in a chart to stop making the biggest mistakes. Study these plays first.
- Always split Aces and Eights.
- Never split Fives or Tens.
- Always hit hard 11 or less; always stand hard 17 or more.
- Double hard 9 vs dealer 3–6; double hard 10 or 11 when your total beats the dealer’s up card (subject to table doubling rules).
- Do not take insurance or even money as part of basic strategy — insurance is generally negative‑EV.
Those heuristics will stop you losing big due to avoidable errors while you study the full chart for your specific table.
Where to find the right charts and how to use them
Free, accurate charts exist online. Wizard of Odds hosts specific charts for single decks, multiple decks, S17 vs H17, and European rule sets.
If you prefer a printed or phone-sized chart, grab the version that matches the number of decks and the soft‑17 rule the game displays.
For live or RNG blackjack, inspect the rules panel first: many RNG tables state deck count and whether the dealer hits S17 or H17.
If you’re at a brick‑and‑mortar table, glance at the sign or ask the dealer — you’re allowed to check.
One responsible note
Basic strategy reduces the house edge, it doesn’t eliminate it.
It’s the mathematically best decision set for the given rules, not a guarantee of profit. Play within limits.
If you want the exact chart for the game you’re sitting at, the Wizard pages are a great single place to compare variants and see how minor rule changes move expected value.
Frequently Asked Questions
Where can I find a reliable blackjack basic strategy chart?
The best place to get charts matched to rules is pages like the Wizard of Odds multi‑deck and European strategy pages; they publish charts specifically for 4, 6, and 8 decks and for S17 vs H17 scenarios.
Does S17 vs H17 really change my plays?
Yes. Whether the dealer hits or stands on soft 17 shifts the dealer’s distribution in ways that change some doubling and hitting decisions. Use an S17 or H17 chart to match the table’s rule.
How different is a multi-deck blackjack chart from a single‑deck one?
Multi‑deck charts reflect the shoe effect: card composition changes and some plays (especially doubles and surrender thresholds) move slightly. If you’re at a 4/6/8‑deck shoe, use a multi‑deck blackjack chart rather than a single‑deck chart.
Should I ever take insurance?
Basic strategy says no. The insurance option is generally a negative‑EV proposition; single‑deck analysis shows it carries a big house edge and multi‑deck logic is the same.
What about surrender — when should I do it?
If the table offers early/late surrender and the chart for your rule set indicates surrender (for example, surrender hard 16 vs 10 in many multi‑deck charts), follow it. Surrender cuts losses in high‑expected‑loss situations, but exact spots vary by rules.
Is memorizing one chart enough?
No. Memorize the few high‑impact plays (split Aces/eights, don’t split tens/fives, hit <=11, stand >=17), then use a specific blackjack basic strategy chart for the table rules you face.
Conclusion — the one thing to remember
The single most important habit is simple: always match your blackjack basic strategy chart to the table’s rules (deck count and S17/H17 first).
Do that, and you’re playing close to the mathematically best decisions — ignore it, and you can blow up the house‑edge by orders of magnitude (think 0.62% vs 15.7%).